
Using Templates
Table of Contents
You can use templates to send emails in a predefined format without having to repeat the formatting multiple times. This is useful for organizations to standardize their emails across the organization. You can also categorize the templates to your preference to spot them easily.
Creating Templates
Creating Templates in Email Composer: Via Save Draft
- Log in to Zoho Mail
- Click New Mail to compose a new email template.
- Provide the Subject – The template name will be the same as the Subject you provide here.
- Type in the required email content.
- You can make the necessary formatting to the email content.
- Select the drop-down near Save to choose the Save Template option.
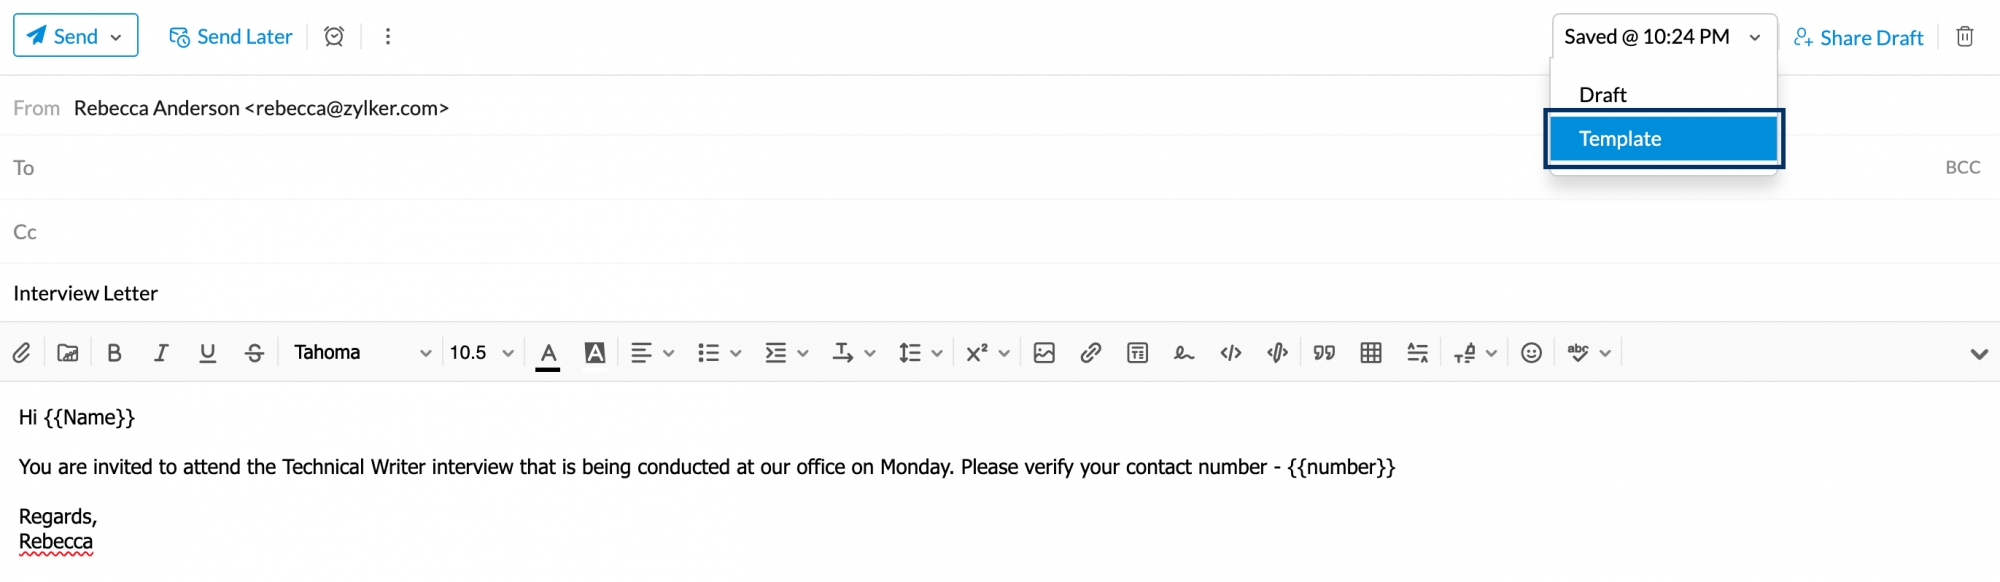
- The message will be saved in the Templates folder under the ‘All Templates’ category by default.
Creating Templates in Email Composer: Via Insert Template
- Log in to Zoho Mail
- Click the New Mail button.
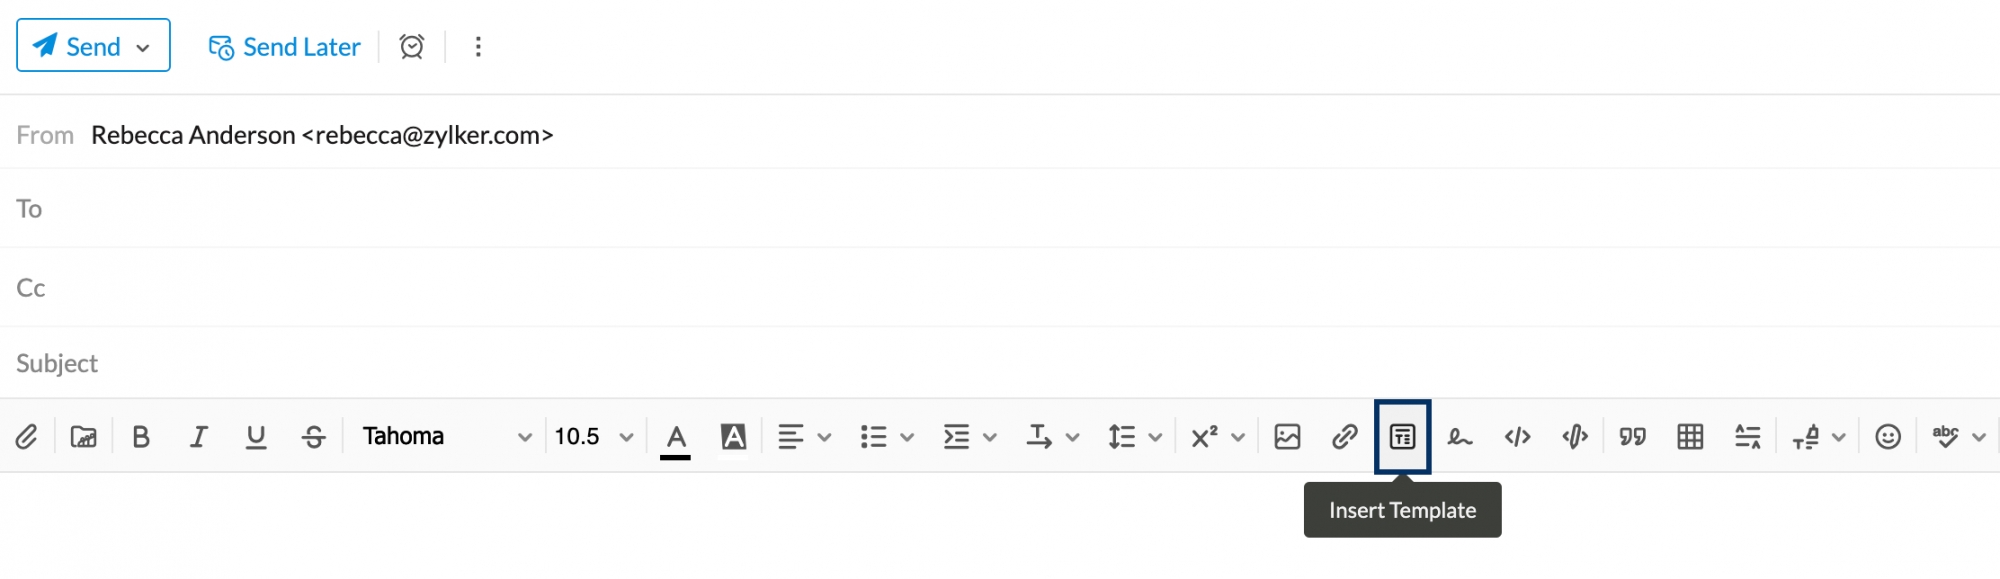
- In the email composer, click the Insert Template icon.
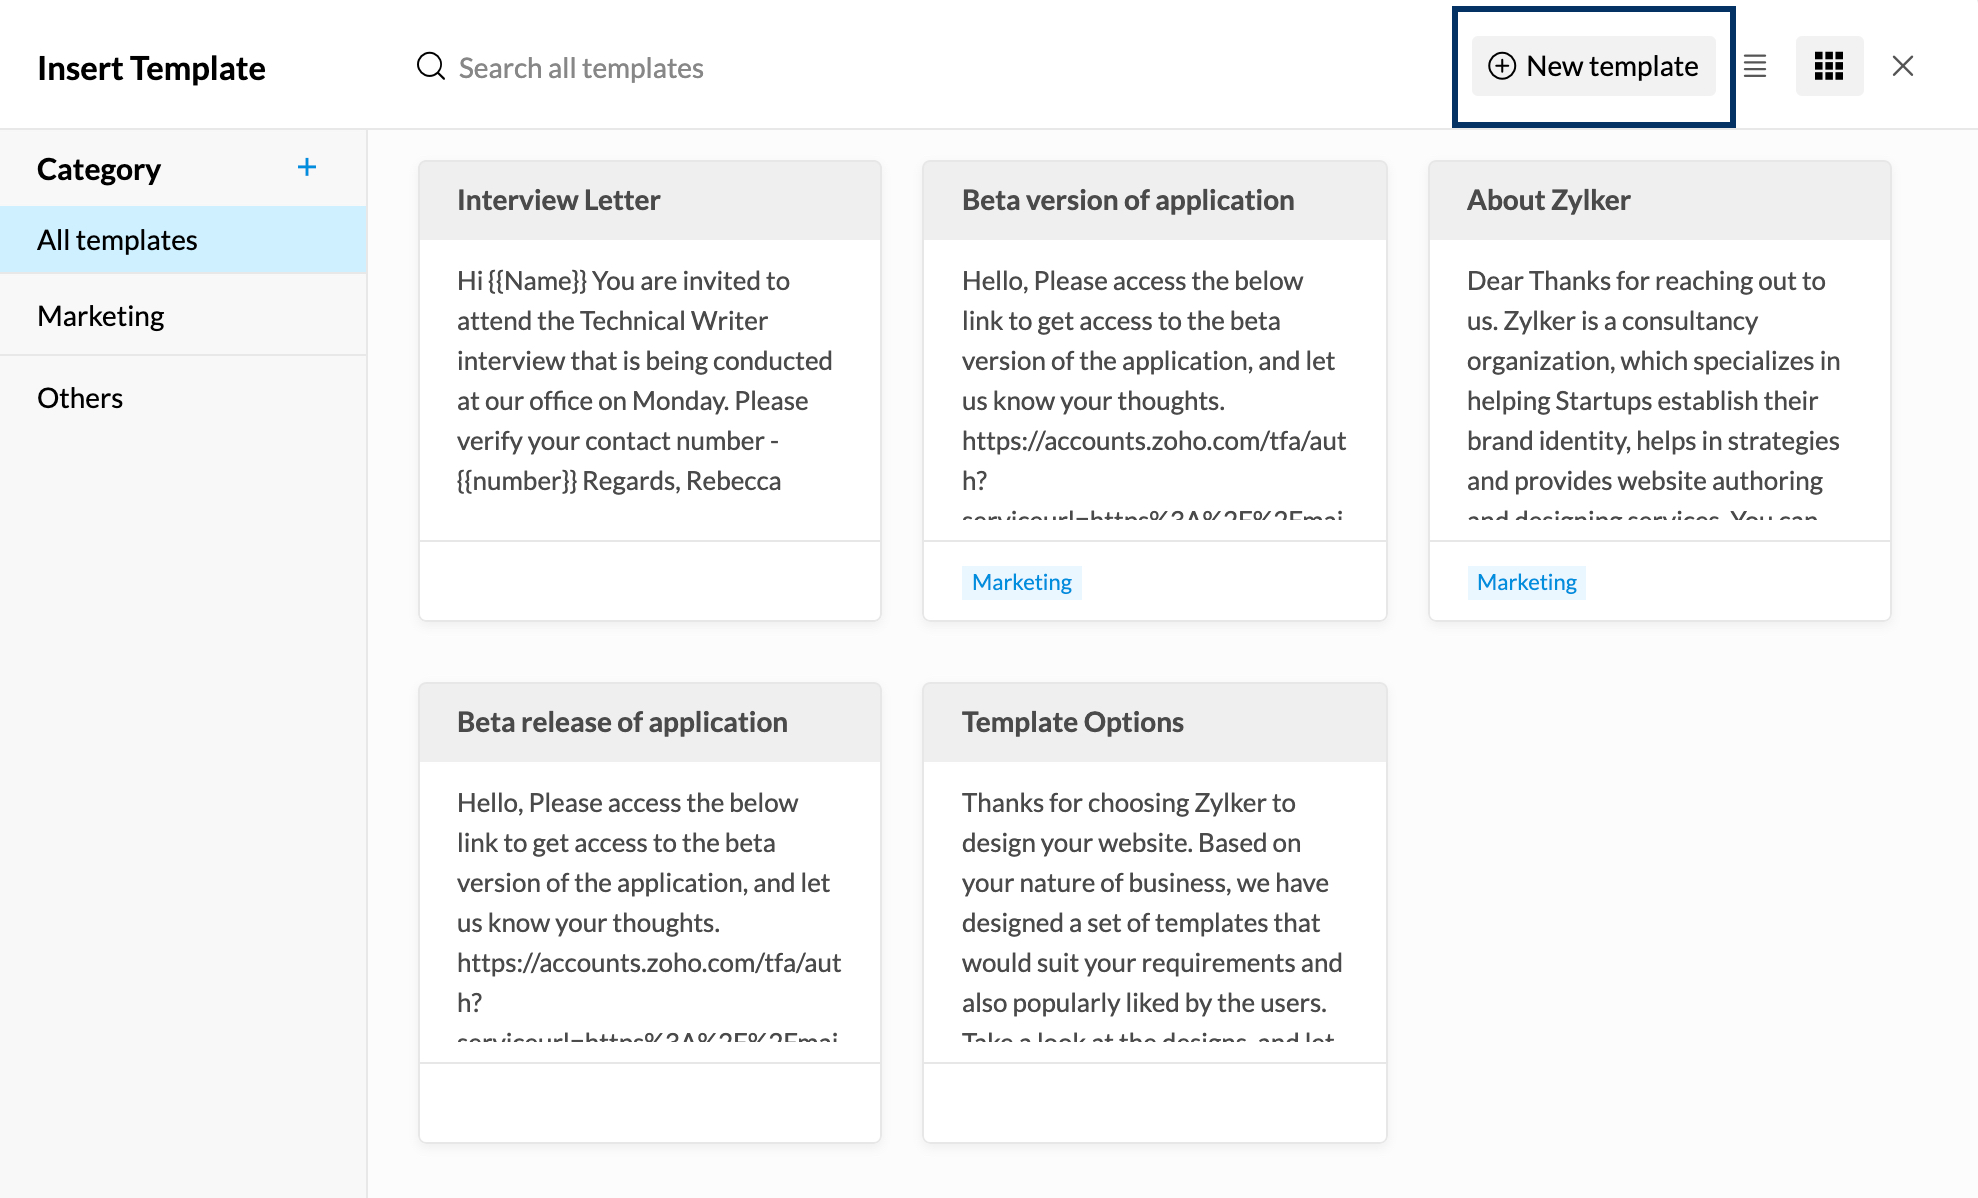
- In the Insert Template pop-up window, click the New template button.
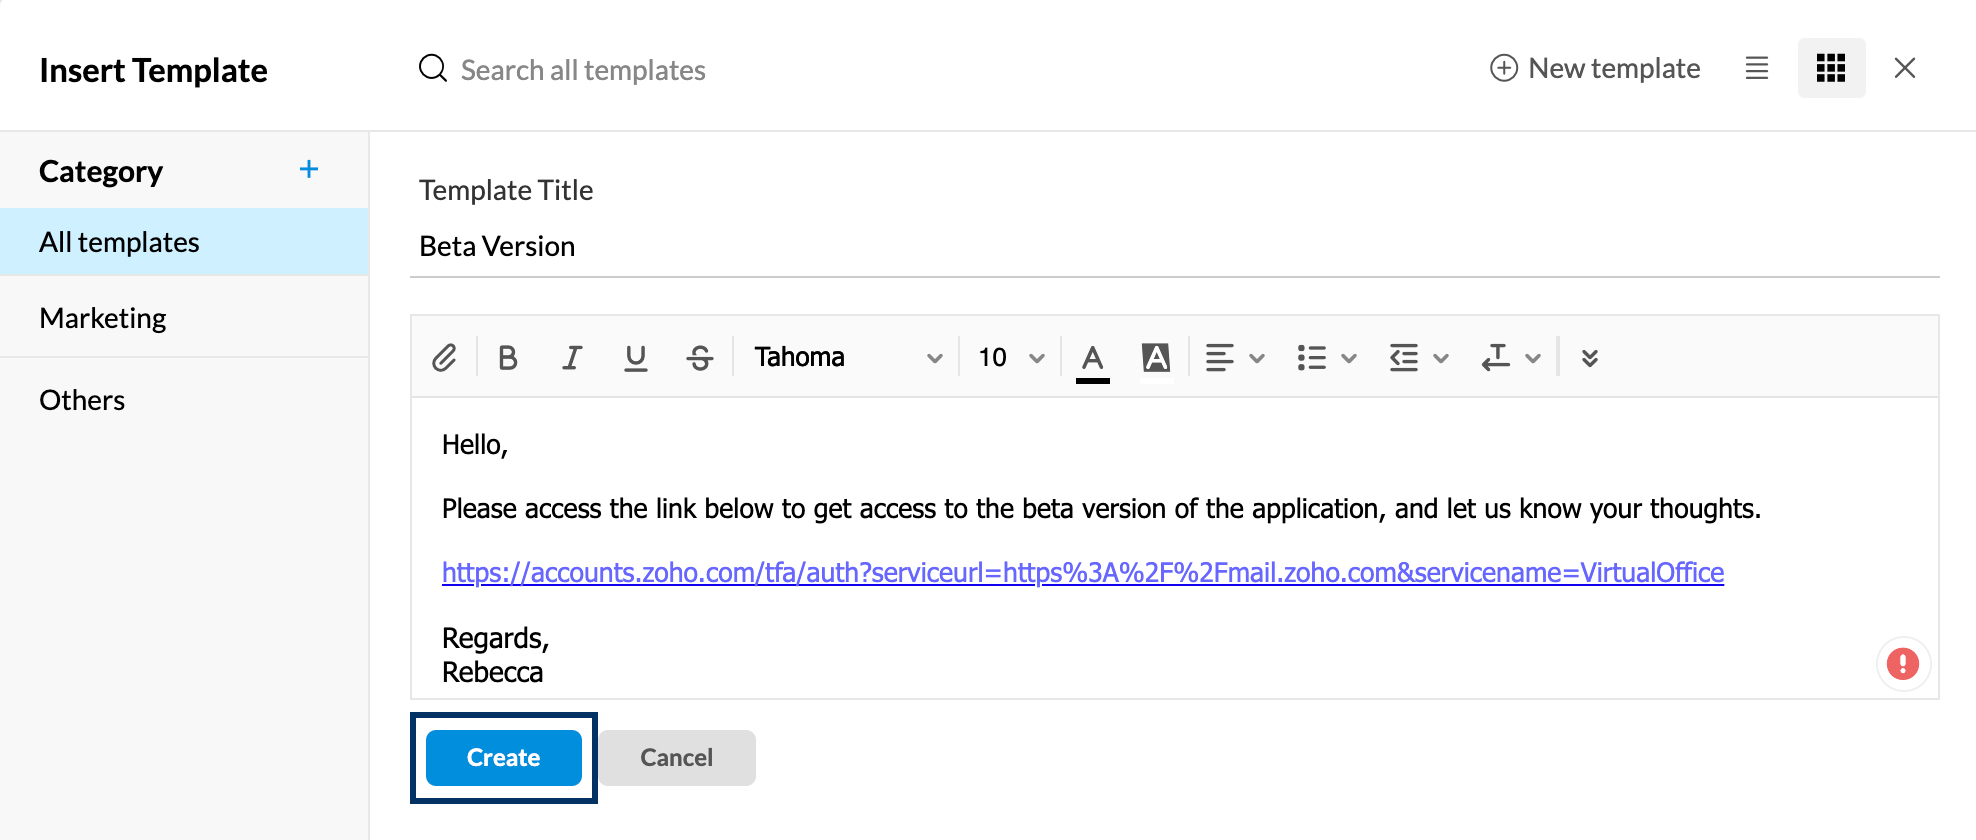
- Give your template a title and compose the required content.
- Once done, click Create.
You can find the template you created in the Templates folder under the ‘All Templates’ category by default.
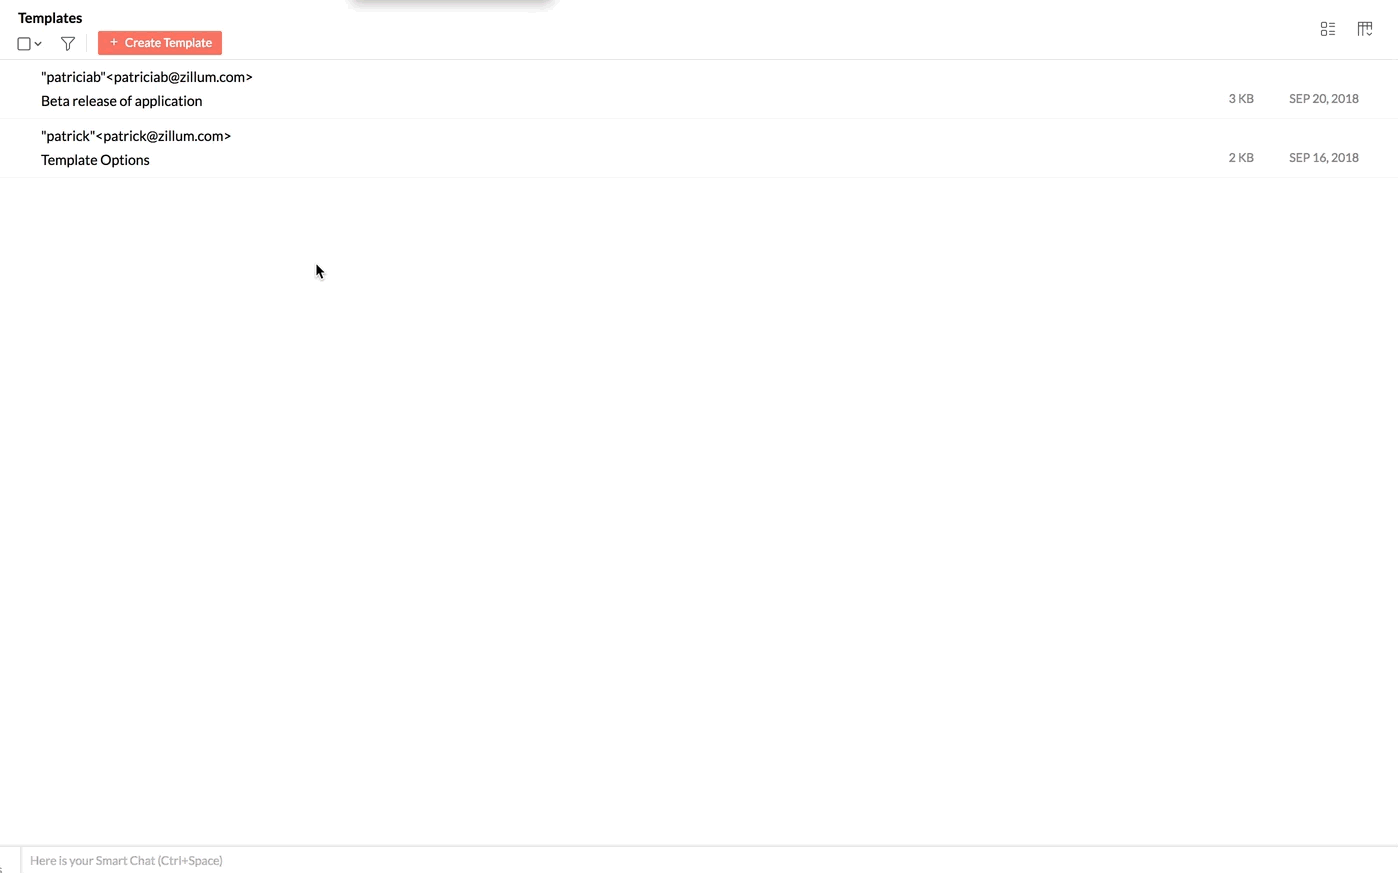
Creating a Template from the Templates folder:
- Navigate to the Templates Folder.
- Click on ‘Create Template’.
- Provide the title and draft your email in the respective fields and make formatting changes if necessary. (The title provided in the template will appear as the subject of the email.)
- Click on the Select Category drop-down to choose or create a category.
- Click ‘Save’ to save the template.
- The message will be saved in the Templates folder under the Category provided.
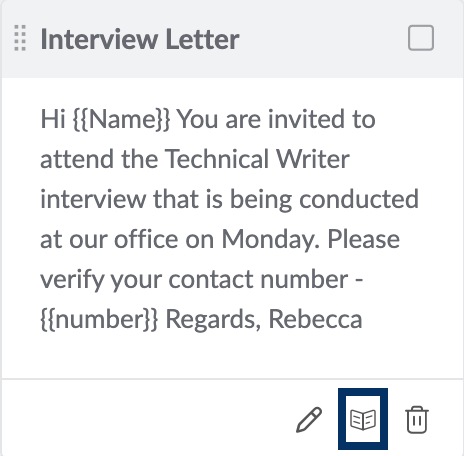
You can preview the template by clicking on the Preview icon in the listing of the Templates folder. You can also Edit or Delete a template using the icons on the listing.

Categorizing Templates from Email Composer
After the template is saved, you can categorize it from the composer using the Insert template option in the formatting options menu.
Create a category using the ‘+’ option in the pop-up window. Once done, you can simply drag and drop the templates to it (You can select multiple templates to drag and drop into a category). You can also edit or delete a category with the respective options available when you hover over it.
A template can be saved in more than one category. Click the name of the category available in a template’s preview and select the checkboxes of the categories you want to save the template in.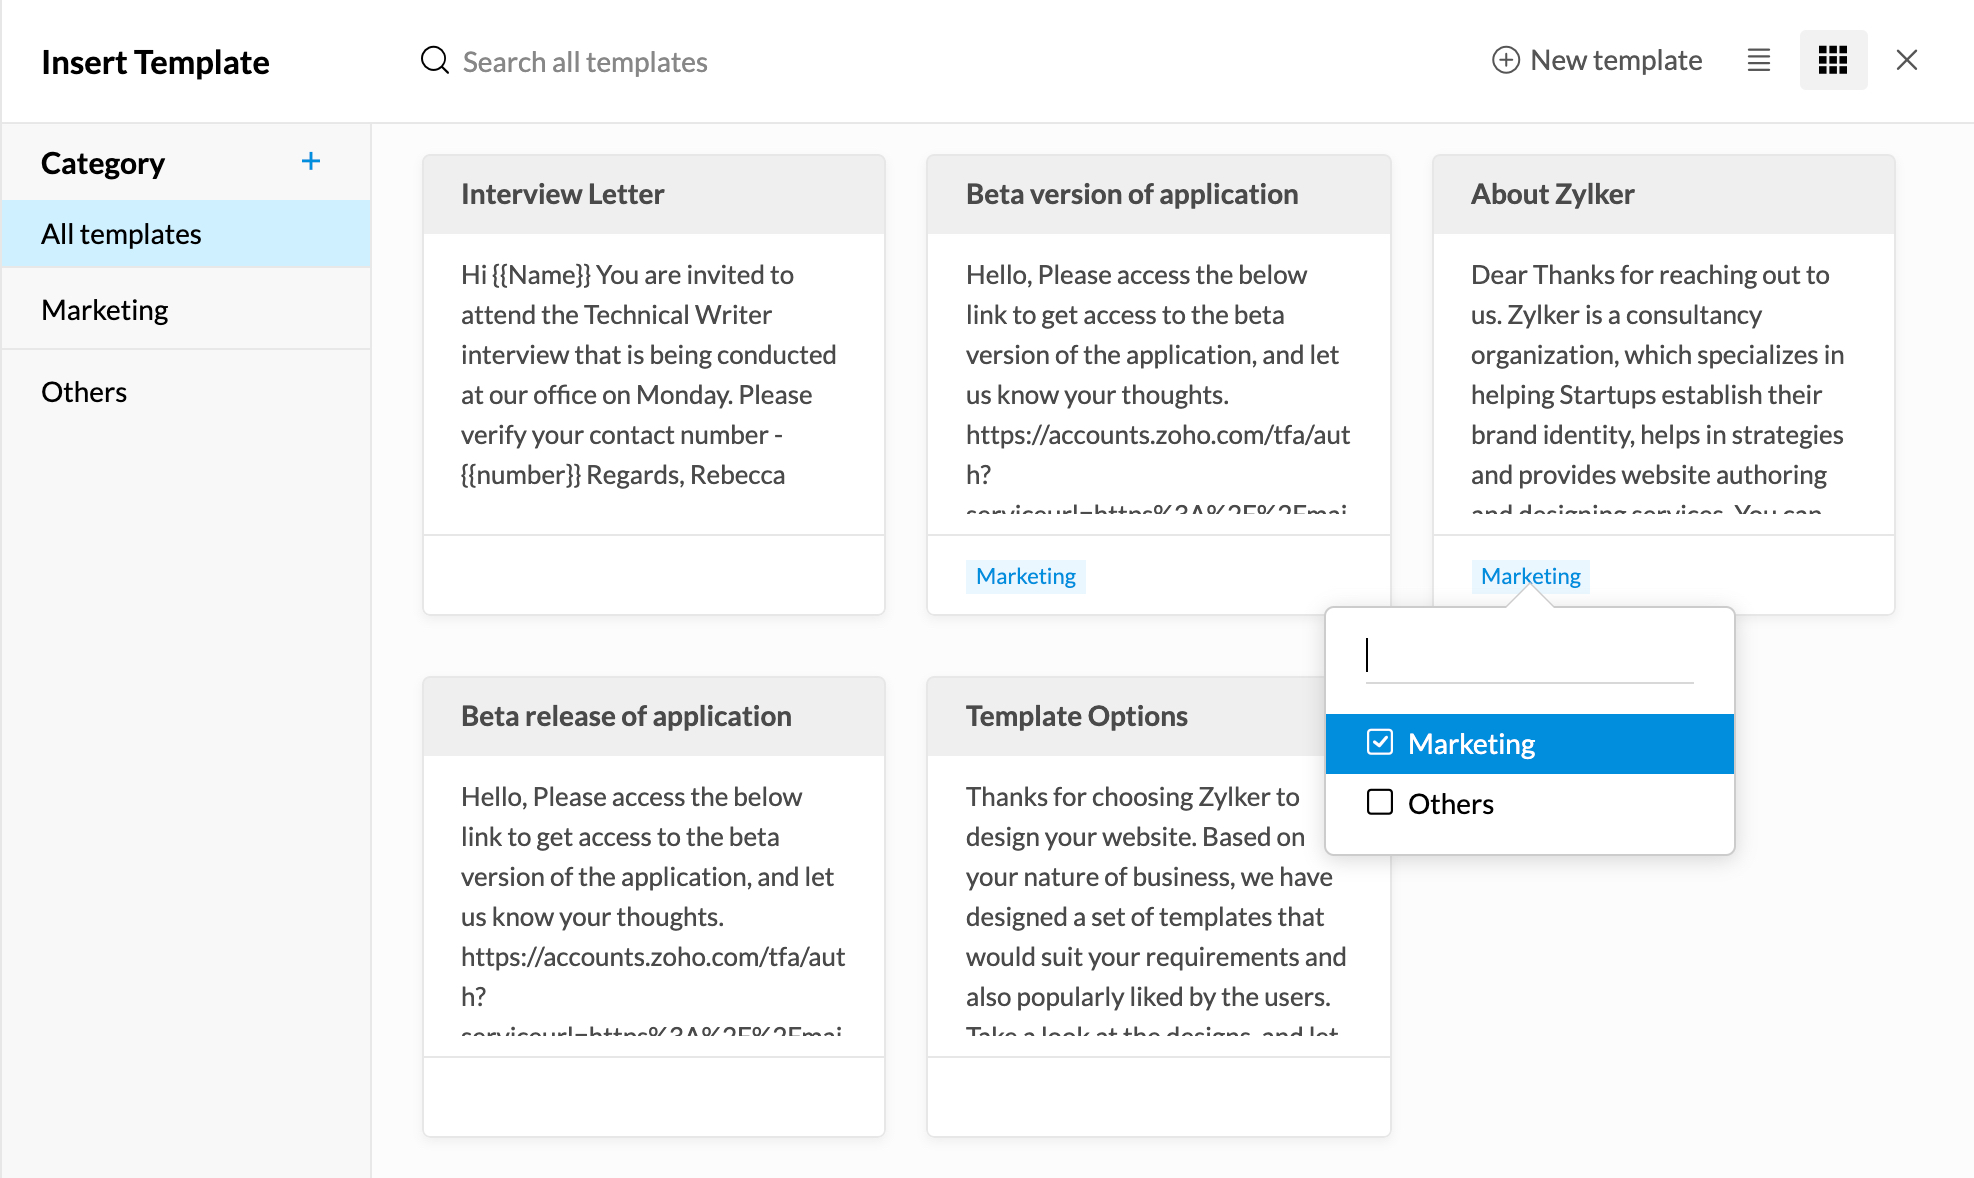
Note:
The templates are displayed in the list view by default. You can change it by clicking on the ‘Thumbnail View’ icon.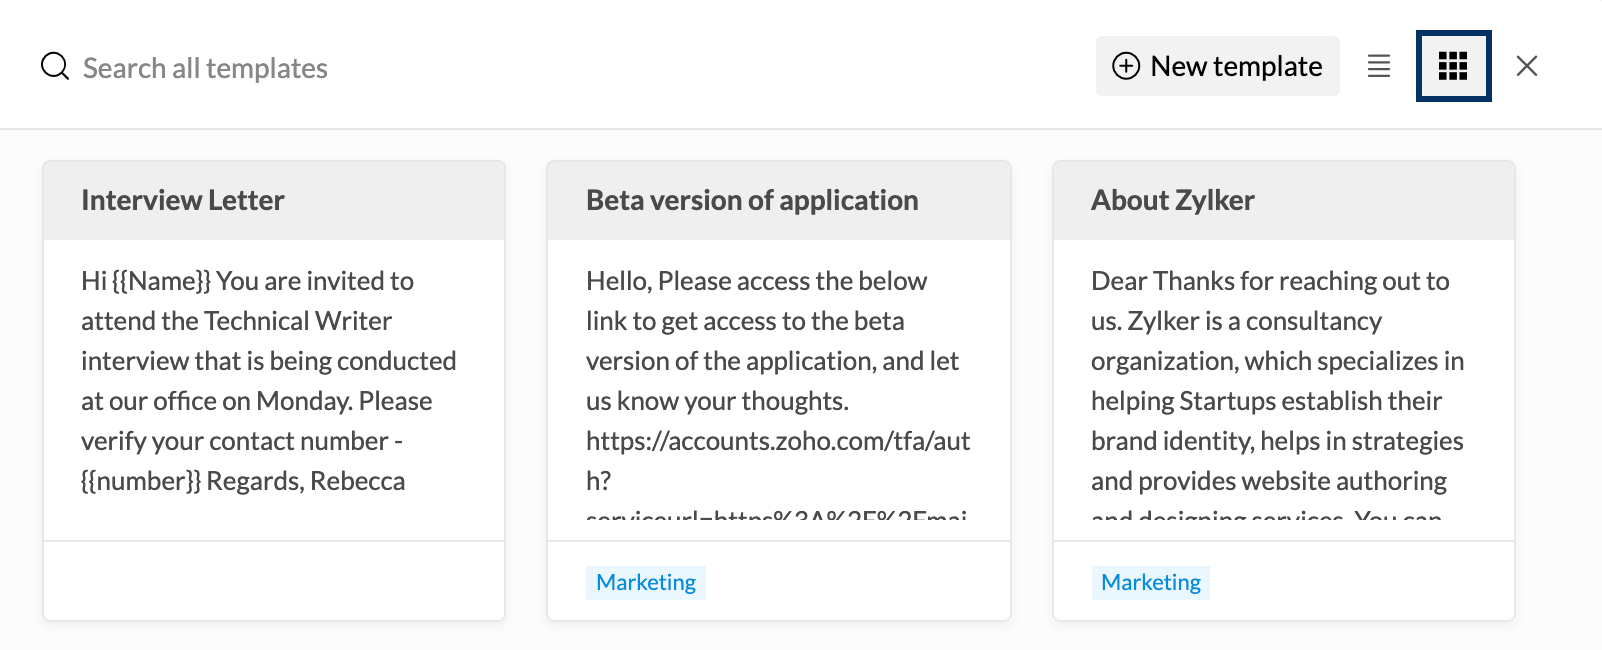
Modifying saved Templates
From Templates folder
- Navigate to the Templates folder.
- All the saved templates will be listed.
- Select the message you want to use, to open it in the composer.
- After making changes, click ‘Save Template‘ from the Save Draft drop-down on the top-right side of the screen, to overwrite the existing template.
From Compose Window
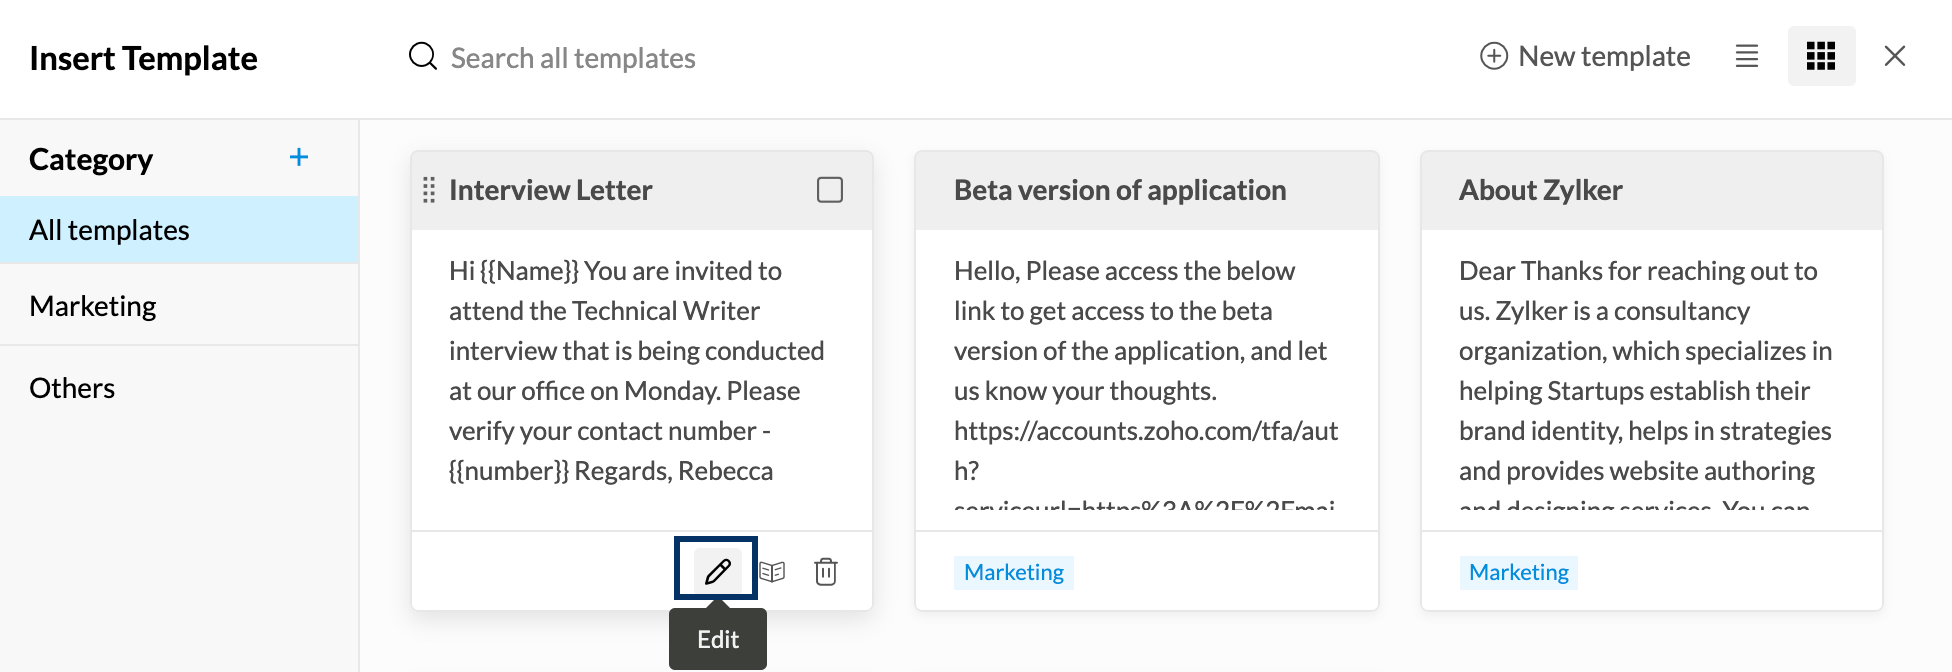
You can also edit existing templates from the Templates window in Compose editor. Click on the Insert template icon from the formatting options.
Go to the category containing the template you wish to edit and click on the Edit icon of the relevant template.
Inserting Templates
- You can insert the template content while composing an email.
- Click the Insert template icon in the formatting options.
- You will see the list of templates with the Subject and a Preview of the content. You can also view a detailed preview by clicking the Preview icon. You can use the search bar or browse through the categories to locate the template.
Note:
If you use the search bar when you are in a category, only the results of templates in that particular category will be listed.
- Click on the relevant template to insert the same to your composer.

Note:
- Click on the Preview icon on any template to view the content of the template.
- You can click on the Insert option from preview to use the particular template.
- You can also click on the relevant template from the template folder listing to use the template.
Reply with template
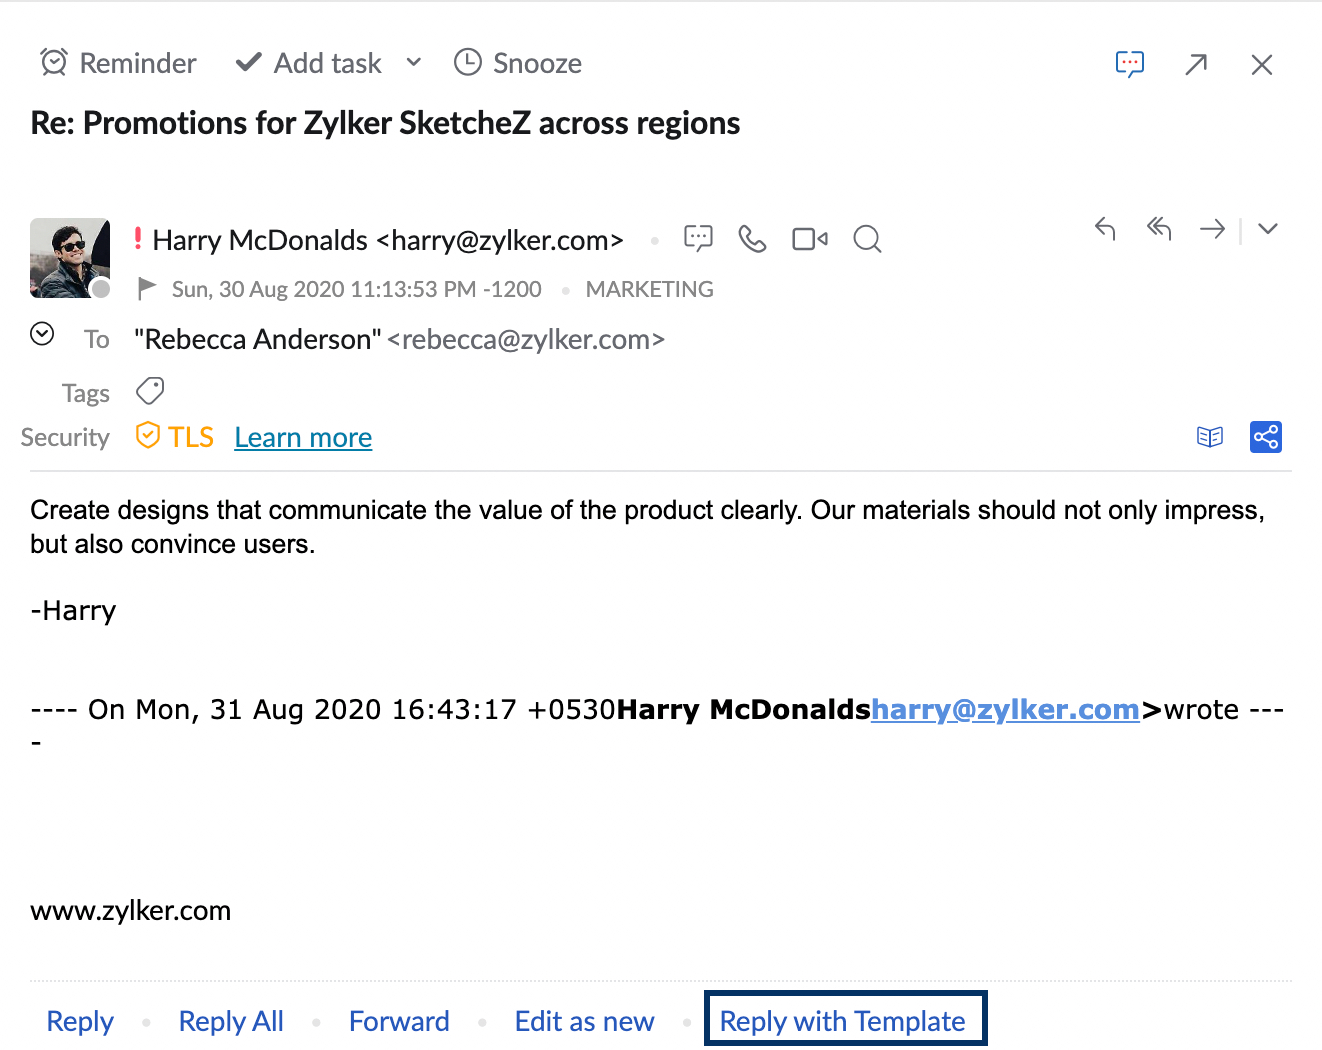
Instead of using the Insert template option from the Compose window, you can also choose the Reply with template option to use a template when replying to an email. To use a template to reply to an email, click on the Reply with template option at the bottom of the Email preview tab. In the Insert Template window choose the template you want to use for the reply. Hit Send.
CRM Templates
Along with your Zoho Mail templates, you can also view your CRM templates from the Compose window. Default CRM template categories are listed below the Mail templates in the Template window.
The CRM templates will be accessible only if you have the Zoho CRM e-widget/ extension enabled.